
Creating a brain
Give the brain a name, set its access and data protection level, and decide whether it is active in new chats by default.
Creating a brain takes a minute. It is where the two decisions that matter most later are made: who may use it and how it handles personal data. You add sources right after.
Create a brain
Open Company Brain
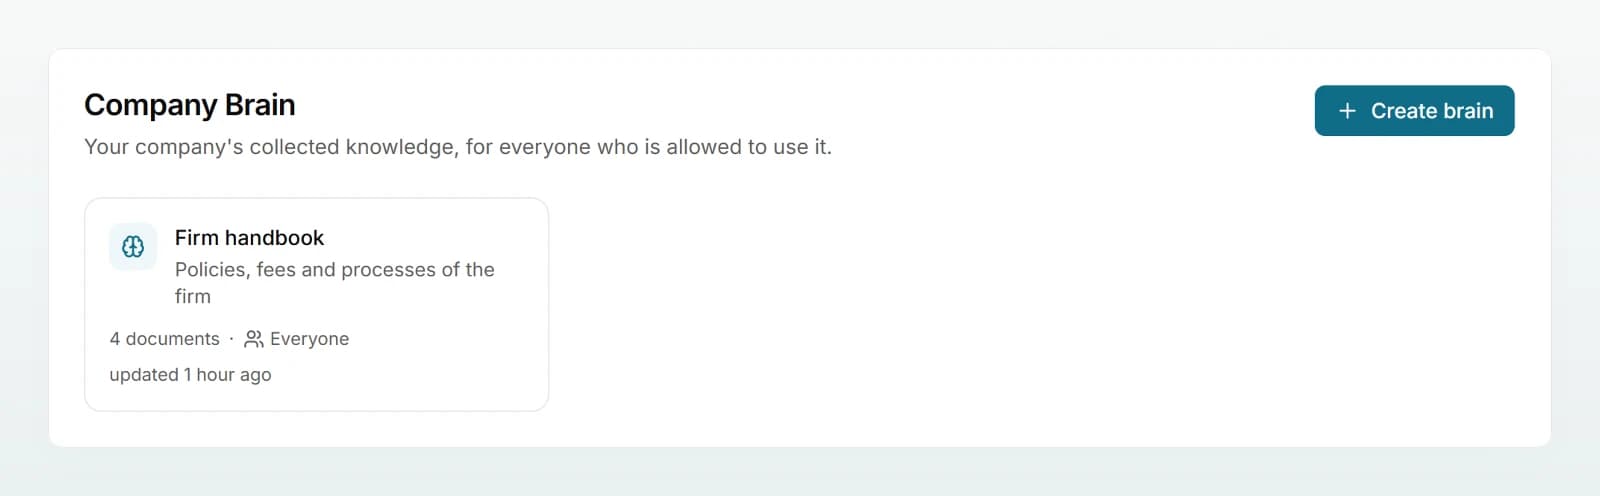
Click Company Brain in the sidebar, then Create brain. The list shows every brain you may read.
Enter a name and description
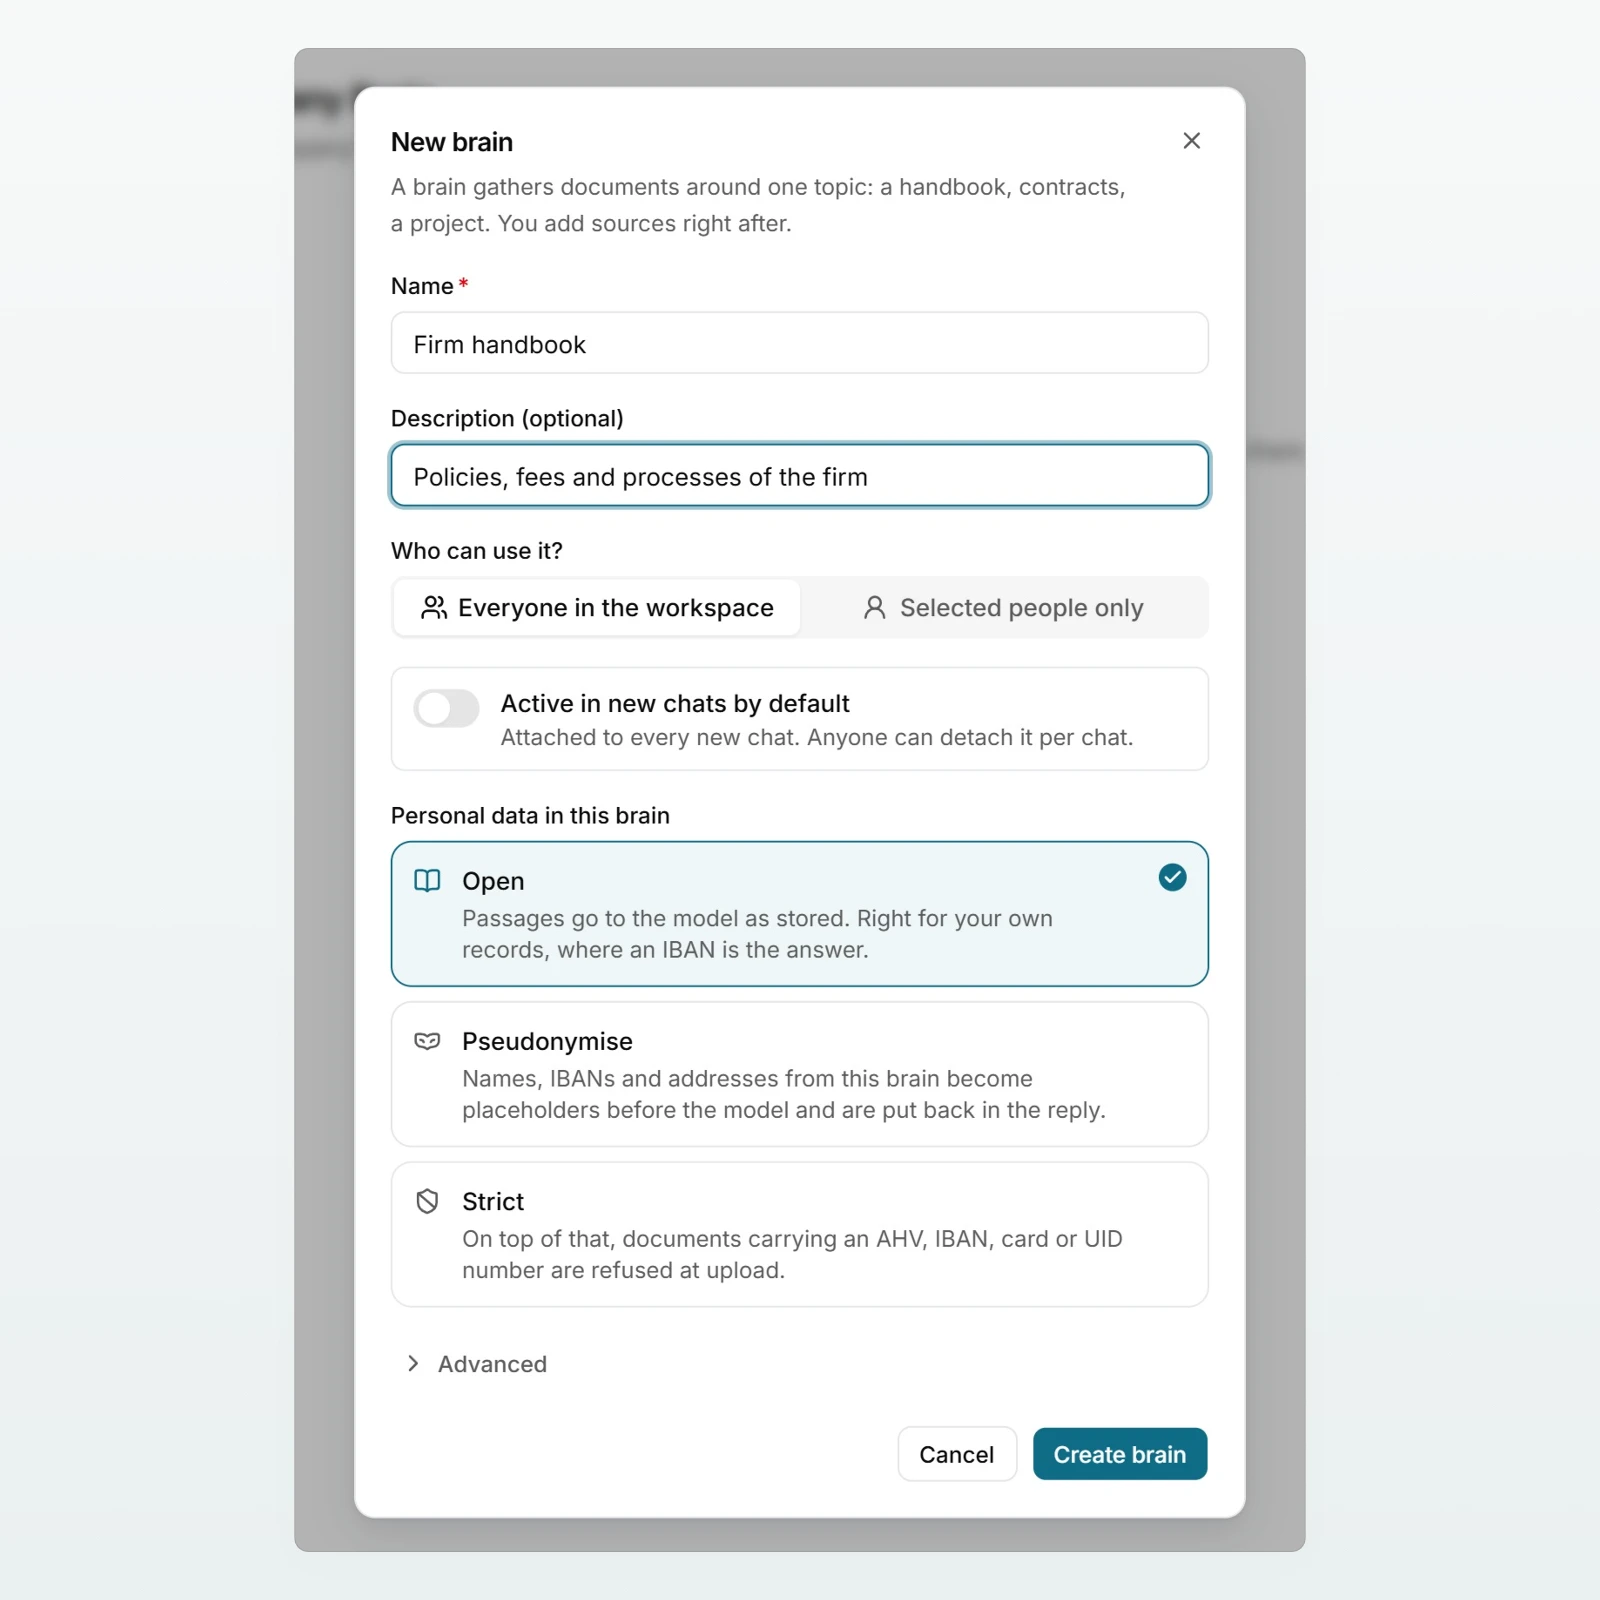
Enter a name under Name, for example "Firm handbook". The Description (optional) appears on the card in the list and helps your colleagues pick the right brain: "Fees, expenses, client communication and procedures of the firm".
Set the access
Under Who can use it?, choose Everyone in the workspace or Selected people only. You pick the people after creating it, under Share.
Choose the data protection level
Under Personal data in this brain, choose one of the three levels: Open, Pseudonymise or Strict. Each level says what it does.
Set the options and create
If you like, switch on Active in new chats by default. Under Advanced, enter Instructions for the model. Then click Create brain.
The settings in detail
Access
| Choice | Who sees the brain |
|---|---|
| Everyone in the workspace | Every member can use the brain in chat. You choose who may also edit it under Share. |
| Selected people only | Only the people you share it with, and you. For everyone else the brain is invisible, name included. |
The workspace setting Admins have access to every brain decides whether admins get access automatically. When it is off, Selected people only shows the switch Include workspace admins, and you decide yourself. More under Access and sharing.
Data protection level
| Level | In short |
|---|---|
| Open | Passages go to the model as stored. Only here are images and scanned PDFs read. |
| Pseudonymise | Personal data from the brain becomes placeholders before the model and is put back in the reply. |
| Strict | Like Pseudonymise; on top of that, documents carrying an AHV, IBAN, card or UID number are refused at upload. |
Open is preselected. If the workspace's protection mode is "Block", Strict is preselected. Choose the level before the first upload: Strict only checks documents added afterwards. More under Data protection in a brain.
Active in new chats by default
The brain is attached to every new chat, but only for people who may read it. Anyone can detach it per chat. Existing chats do not change. Later, change it on the brain page under About this brain, at Default in new chats. Only the person who created the brain and admins with access can.
Instructions
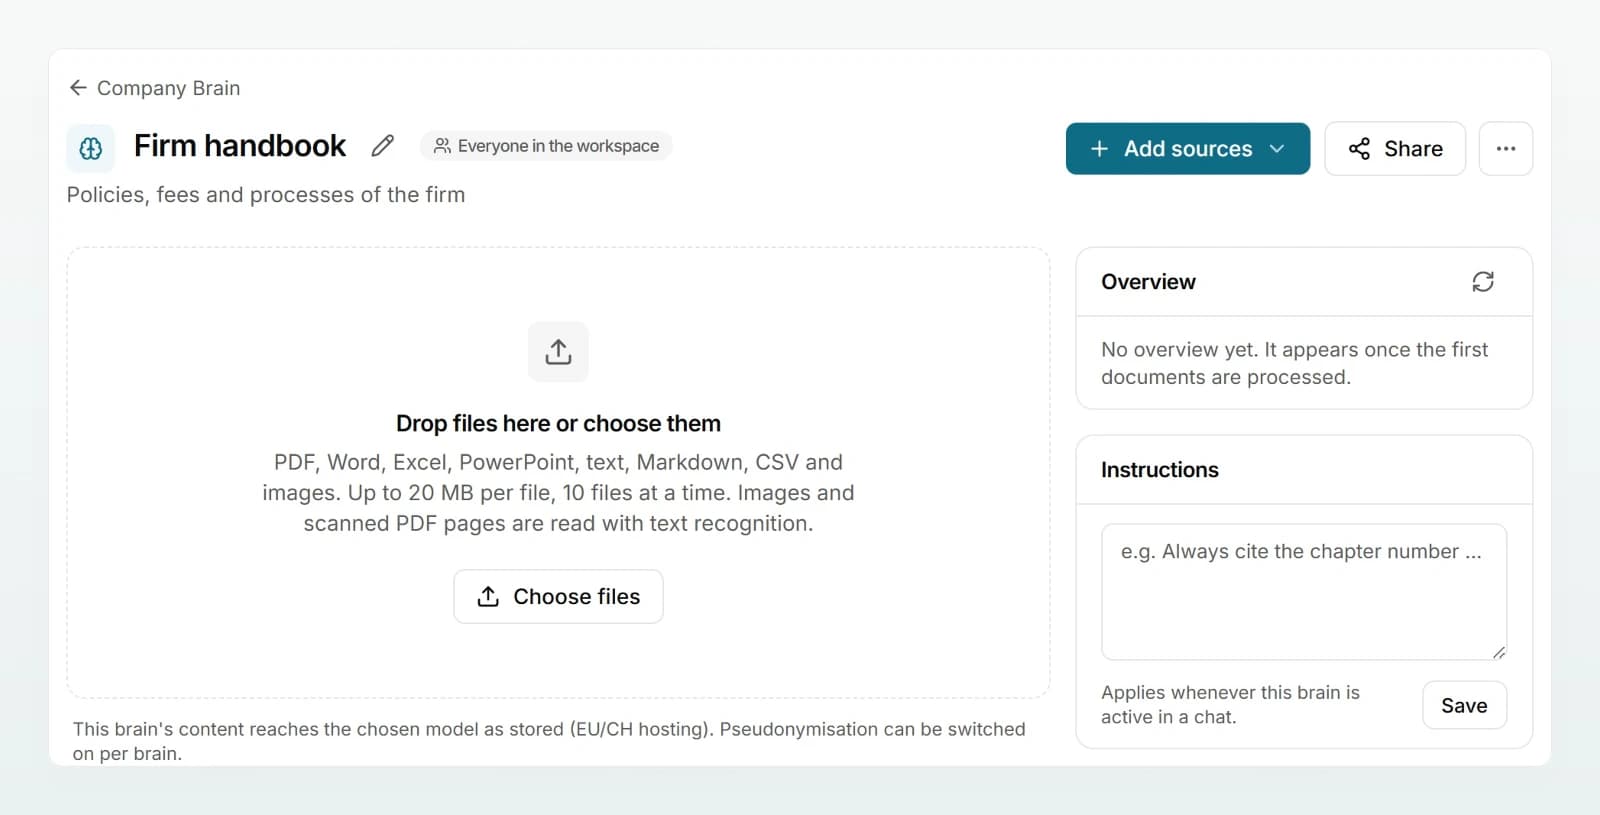
Instructions are given to the model whenever the brain is active in a chat. Rules about handling the documents work well, for example: "For fee questions, always name the section of the Fee Schedule 2026. Point out that quotes are approved by the engagement lead." People with edit rights change the instructions later on the brain page, in the Instructions card.
Overview
The Overview is created automatically once the first documents are processed: a list of the documents with their summaries. From 41 documents, a model condenses it into a short description. An excerpt is sent with every message, so the model knows what is in the brain. How to rebuild it is described under Keeping a brain up to date.
Organising brains in folders
Once there is more than a handful of brains, folders help. On the brain page, next to Create brain, you find New folder; a folder can hold sub-folders, up to three levels deep. When creating a brain you pick its folder right away, and from a brain's menu you can move it later with Move to folder.
Folders are pure organisation: every member sees every folder, but inside it only the brains they may use anyway. Renaming and deleting a folder is for the person who created it and for admins. When a folder is deleted, its brains and sub-folders move up one level; a brain is never deleted this way.
Best practices
- One brain per topic and audience. A "Firm handbook" for everyone and a restricted brain per client engagement are easier to maintain and protect than one big brain for everything.
- Descriptive names. In chat your colleagues choose by name. "Mandate Holzwerk Brunner GmbH" says more than "Clients 2".
- Data protection level first. Decide before the first upload, so the check of Strict covers every document.
- Use the default sparingly. The instructions and overview of every active brain are sent with every message. A good default is a brain almost everyone needs almost every day.
- Short instructions. Two or three clear rules on citing, tone or responsibilities work better than a page of text.
Frequently asked questions
Yes. The person who created the brain and admins with access change the access under Share and the data protection level under About this brain. Note: if you switch to Strict later, documents already in the brain are not checked retroactively.
It only appears with Selected people only, and only when the workspace setting Admins have access to every brain is off. When it is on, admins always have access anyway, and the dialog says so below the choice.
Your workspace is on a trial. During the trial you have the chat, but not Company Brain or agents yet. Ask an admin of your workspace to choose a plan. How that works is described under Seats and billing.